When selling your products on Plant Collective it is vital to have good images of your item. People want to see what they are buying and the better and clearer the images, the higher the chances are that your item will be bought.
Before we get started, here are some things to keep in mind when taking pictures for your online shop:
- Images need to be of the product being sold. Please do not use images found on google.
- We would recommend a minimum of two photographs but feel free to include more images of your product if you wish. These could be different angle shots, detail shots or a shot of your product styled nicely to give the buyer an idea of what it could look like in their home.
- For your main image, make sure the product you are selling is the main focus. You want to buyer to see the product clearly without any distractions.
- Feel free to include additional images that may help in selling the product.
- Experiment with different looks and feels and backgrounds of your images and find what works best for you. The examples we have included are against a white background, but your products do not have to be, if you would prefer a different colour.
You do not need to be a professional photographer with tons of expensive equipment to get good pictures of your items. These tips will help you get good images of your product and all you need is a cell phone with a good camera, good light and a white piece of paper.
An important thing to remember when photographing anything, is that you need good light.
You will want to avoid taking images in dark spaces or when the light is behind your object.
Below are some examples of lighting situations to avoid:
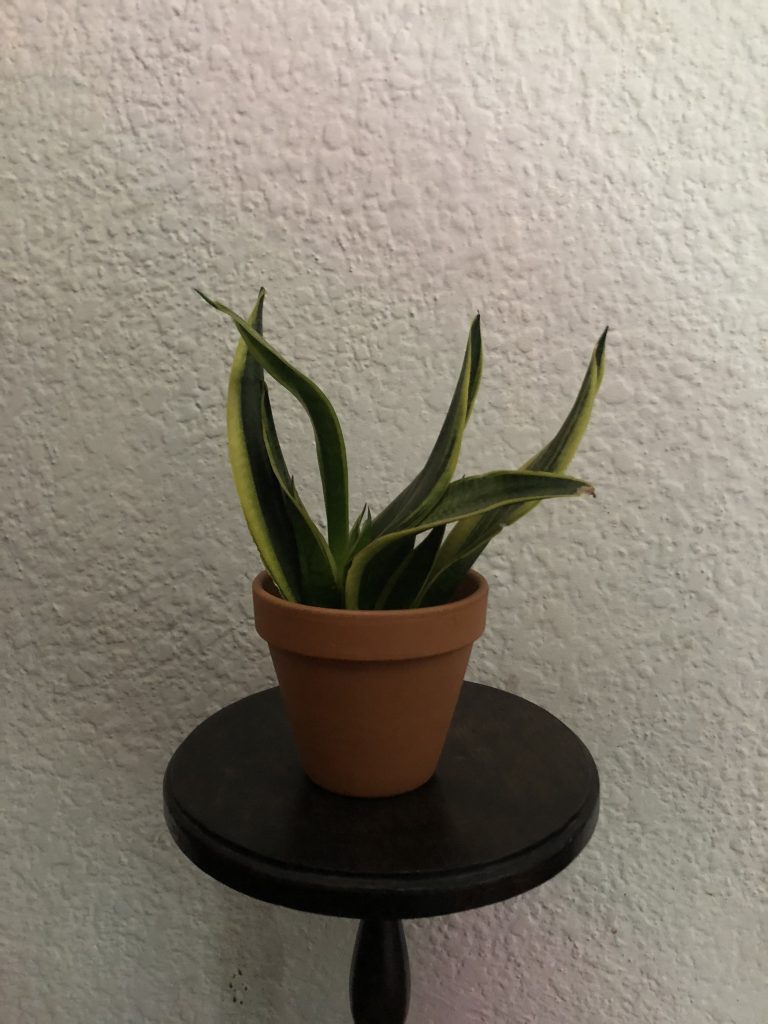
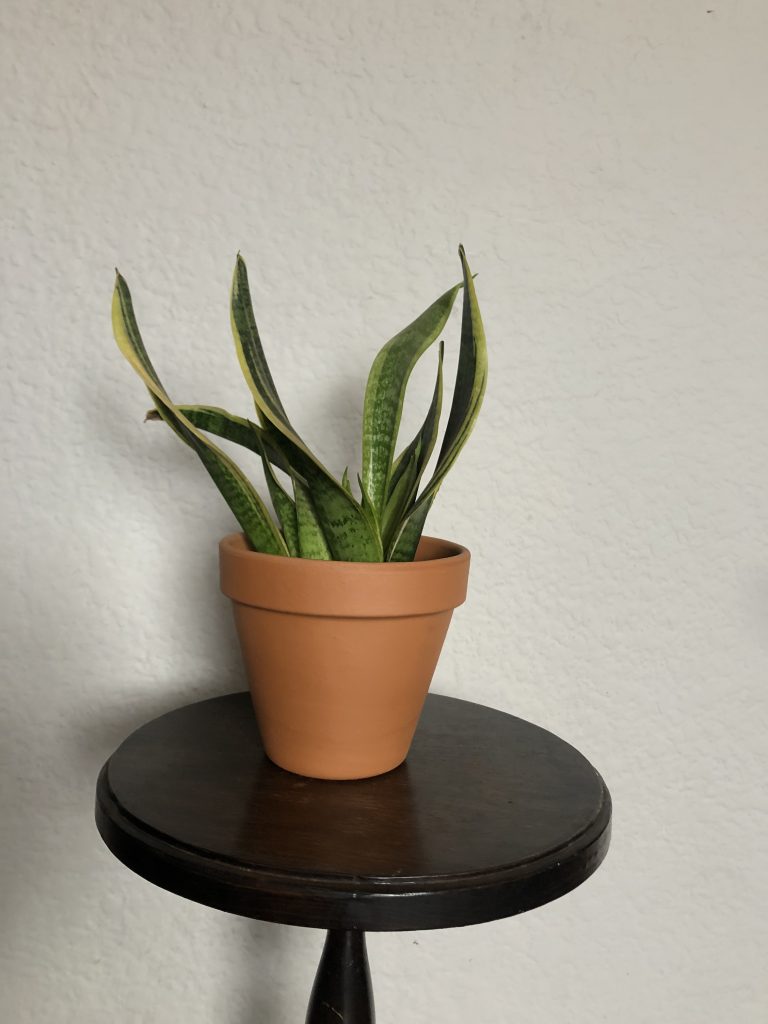
Photographing in a dark space (image on left):
This isn’t a terrible image, but its dark and you cannot see very much detail in the plant. You could edit this lighter if you wanted to, but it will reduce image quality and will not look as good as it could. Remember, you always want to try and get as much right as possible before having to edit it.
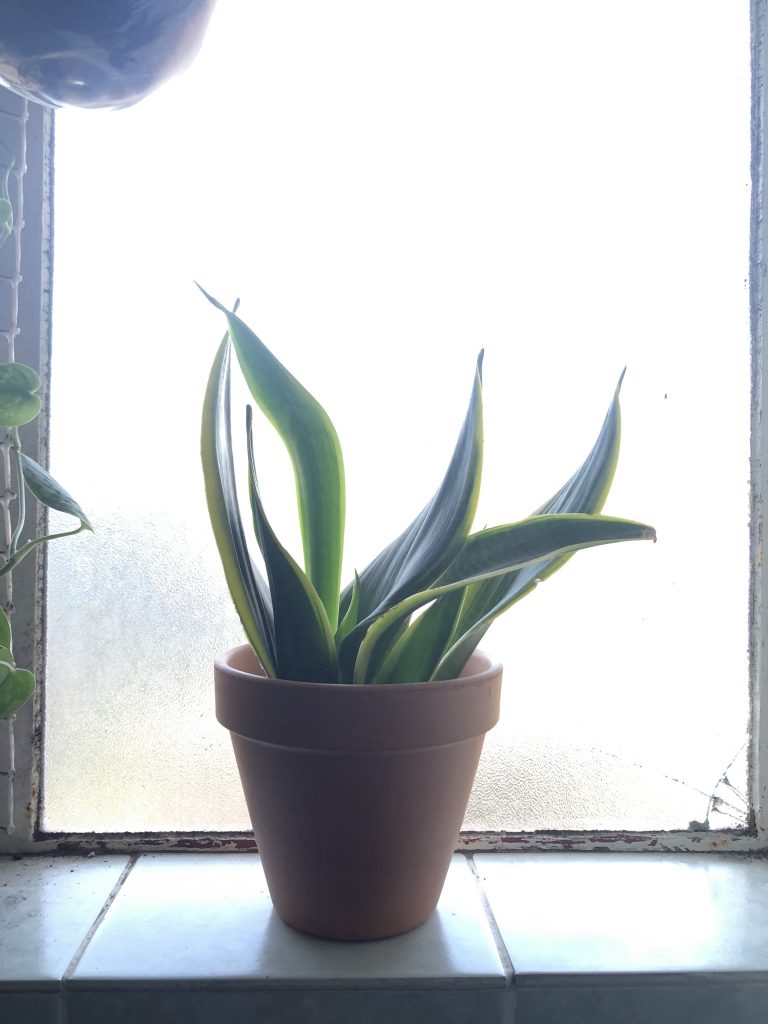
Photographing with the light behind the item (image on right):
Sometimes this can work depending what you want to achieve. But more often than not, it has the same effect as the example image. This image looks murky and the colours are ‘off’. This is not always possible to fix with editing and may look worse if edited.
What is a good lighting situation?
Ideally you want a light and bright room or space where you can photograph your item with the light behind or next to you. Don’t have a bright room? A shaded spot against a clean wall outside works just as well!
Here are some examples of good lighting situations:
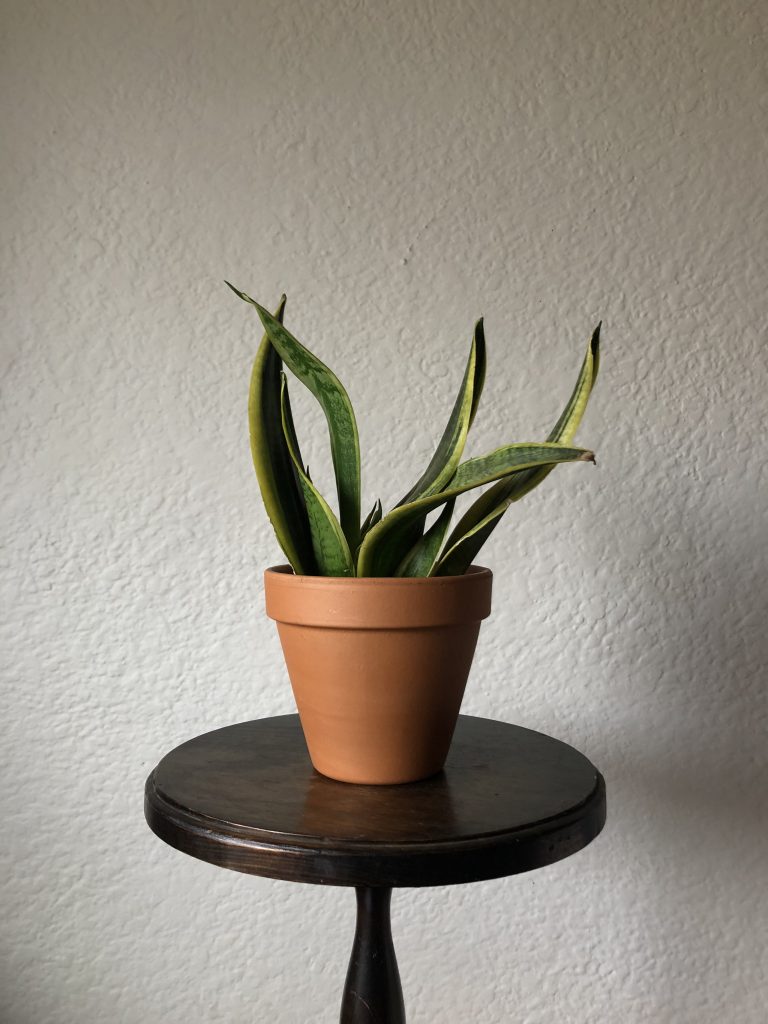
Photographing with the light next to you:
This is where you take the photograph with a window or light source next to you (left). This kind of set up is good if you want a slightly more dramatic look and feel to your image while still having clear details and good colour.
If you like the light from the side, but you don’t like the very dark shadows on the other side, all you have to do is take a white page/piece of cardboard and hold it next to your item (right).
This will reflect the light back onto your item and fill in the very dark shadows. The images side by side are a good example of this.
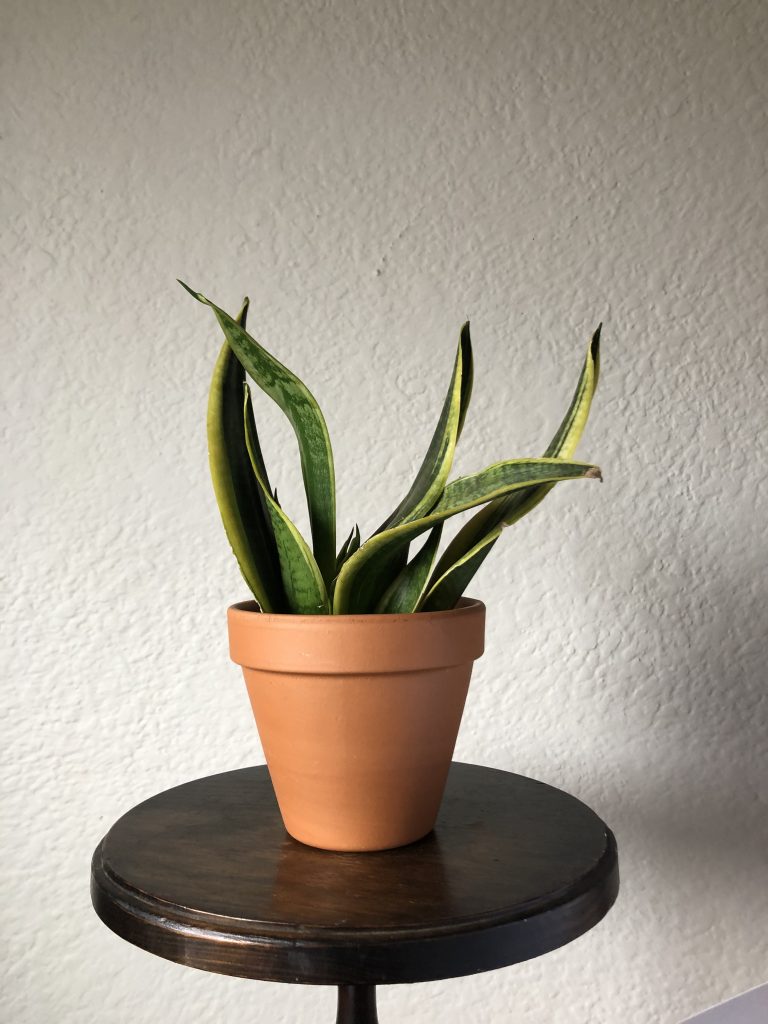
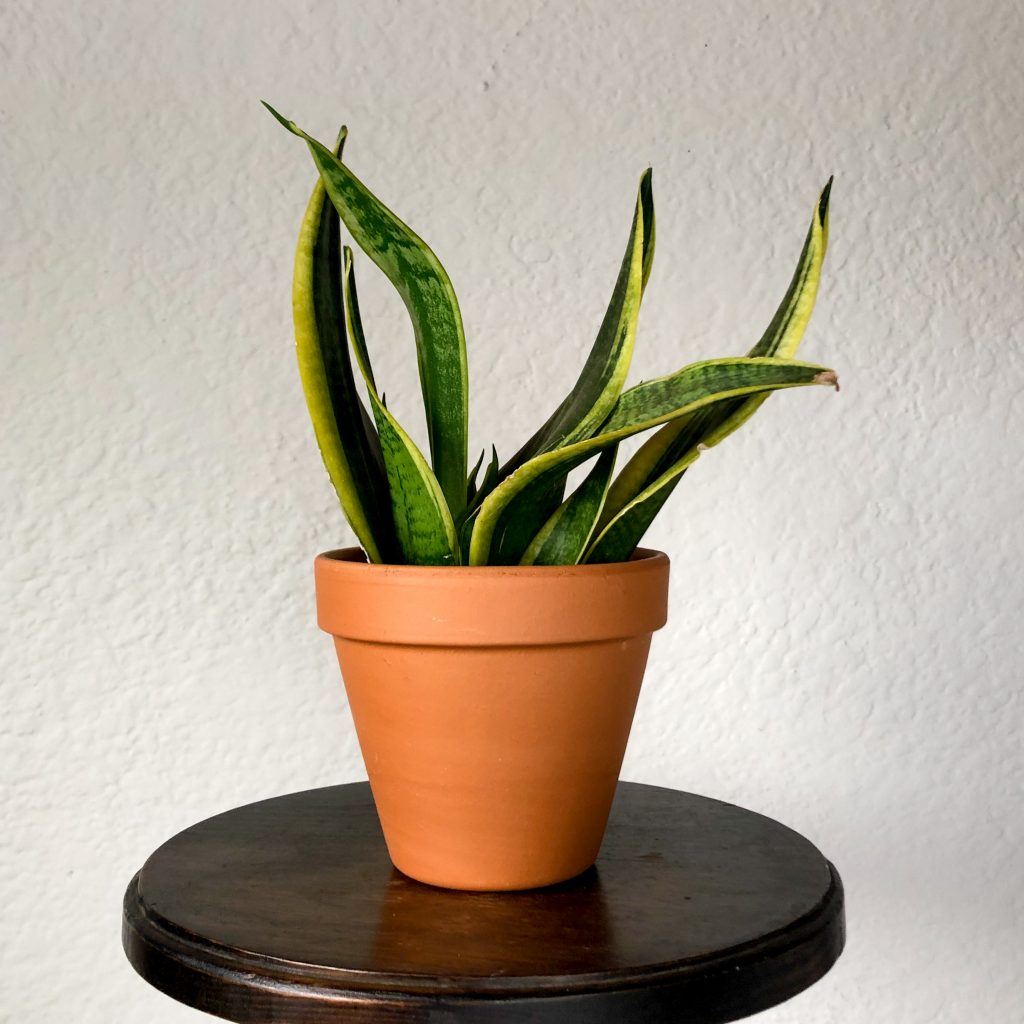
Photographing with the light behind you (image on left):
Photographing your products with your light behind you is another great way to get good light. Find a bright room and take the photographs with the window behind you. The light on the product with be soft and even while showing the colours and details clearly and accurately. This type of lighting will require minimal editing to make your item look great.
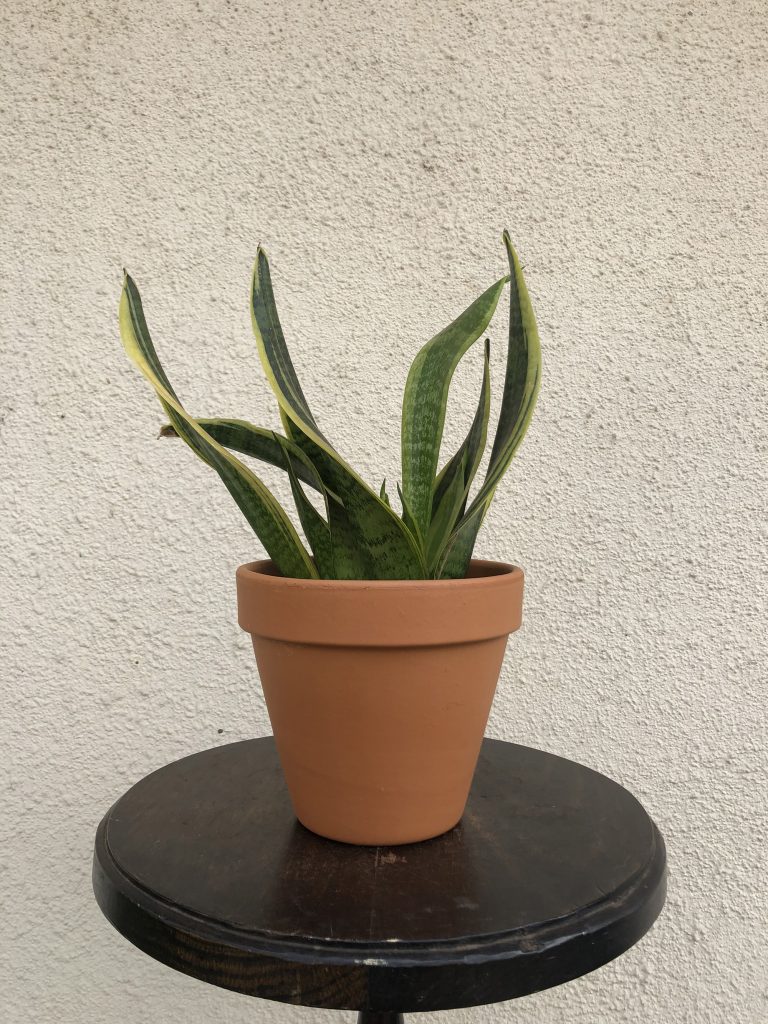
Photographing outside against a clean wall (right):
If you are unable to find or don’t have a spot in your home to take images of your product, a clean wall outside would work just as well. When photographing outside, make sure the spot is shaded and out of direct sunlight, as this will create very harsh shadows and very bright spots.
Editing your images:
Doing some minor adjustments to your images can really make your product pop.
There is a variety of free software available for you to download and use on your phone to edit pictures. We recommend experimenting in all of them and finding one that you like.
We can recommend the following free software:


Keep in mind when editing your pictures, that while it may be tempting to add filters and different effects to your image, you want the image to be a clear representation of what you are selling. With product photography it is important to have clear and clean images of your product so your buyer has a very clear idea of what they are buying.
Remember, like anything, practice makes perfect and we cannot wait to see your pictures of your amazing products on our site!